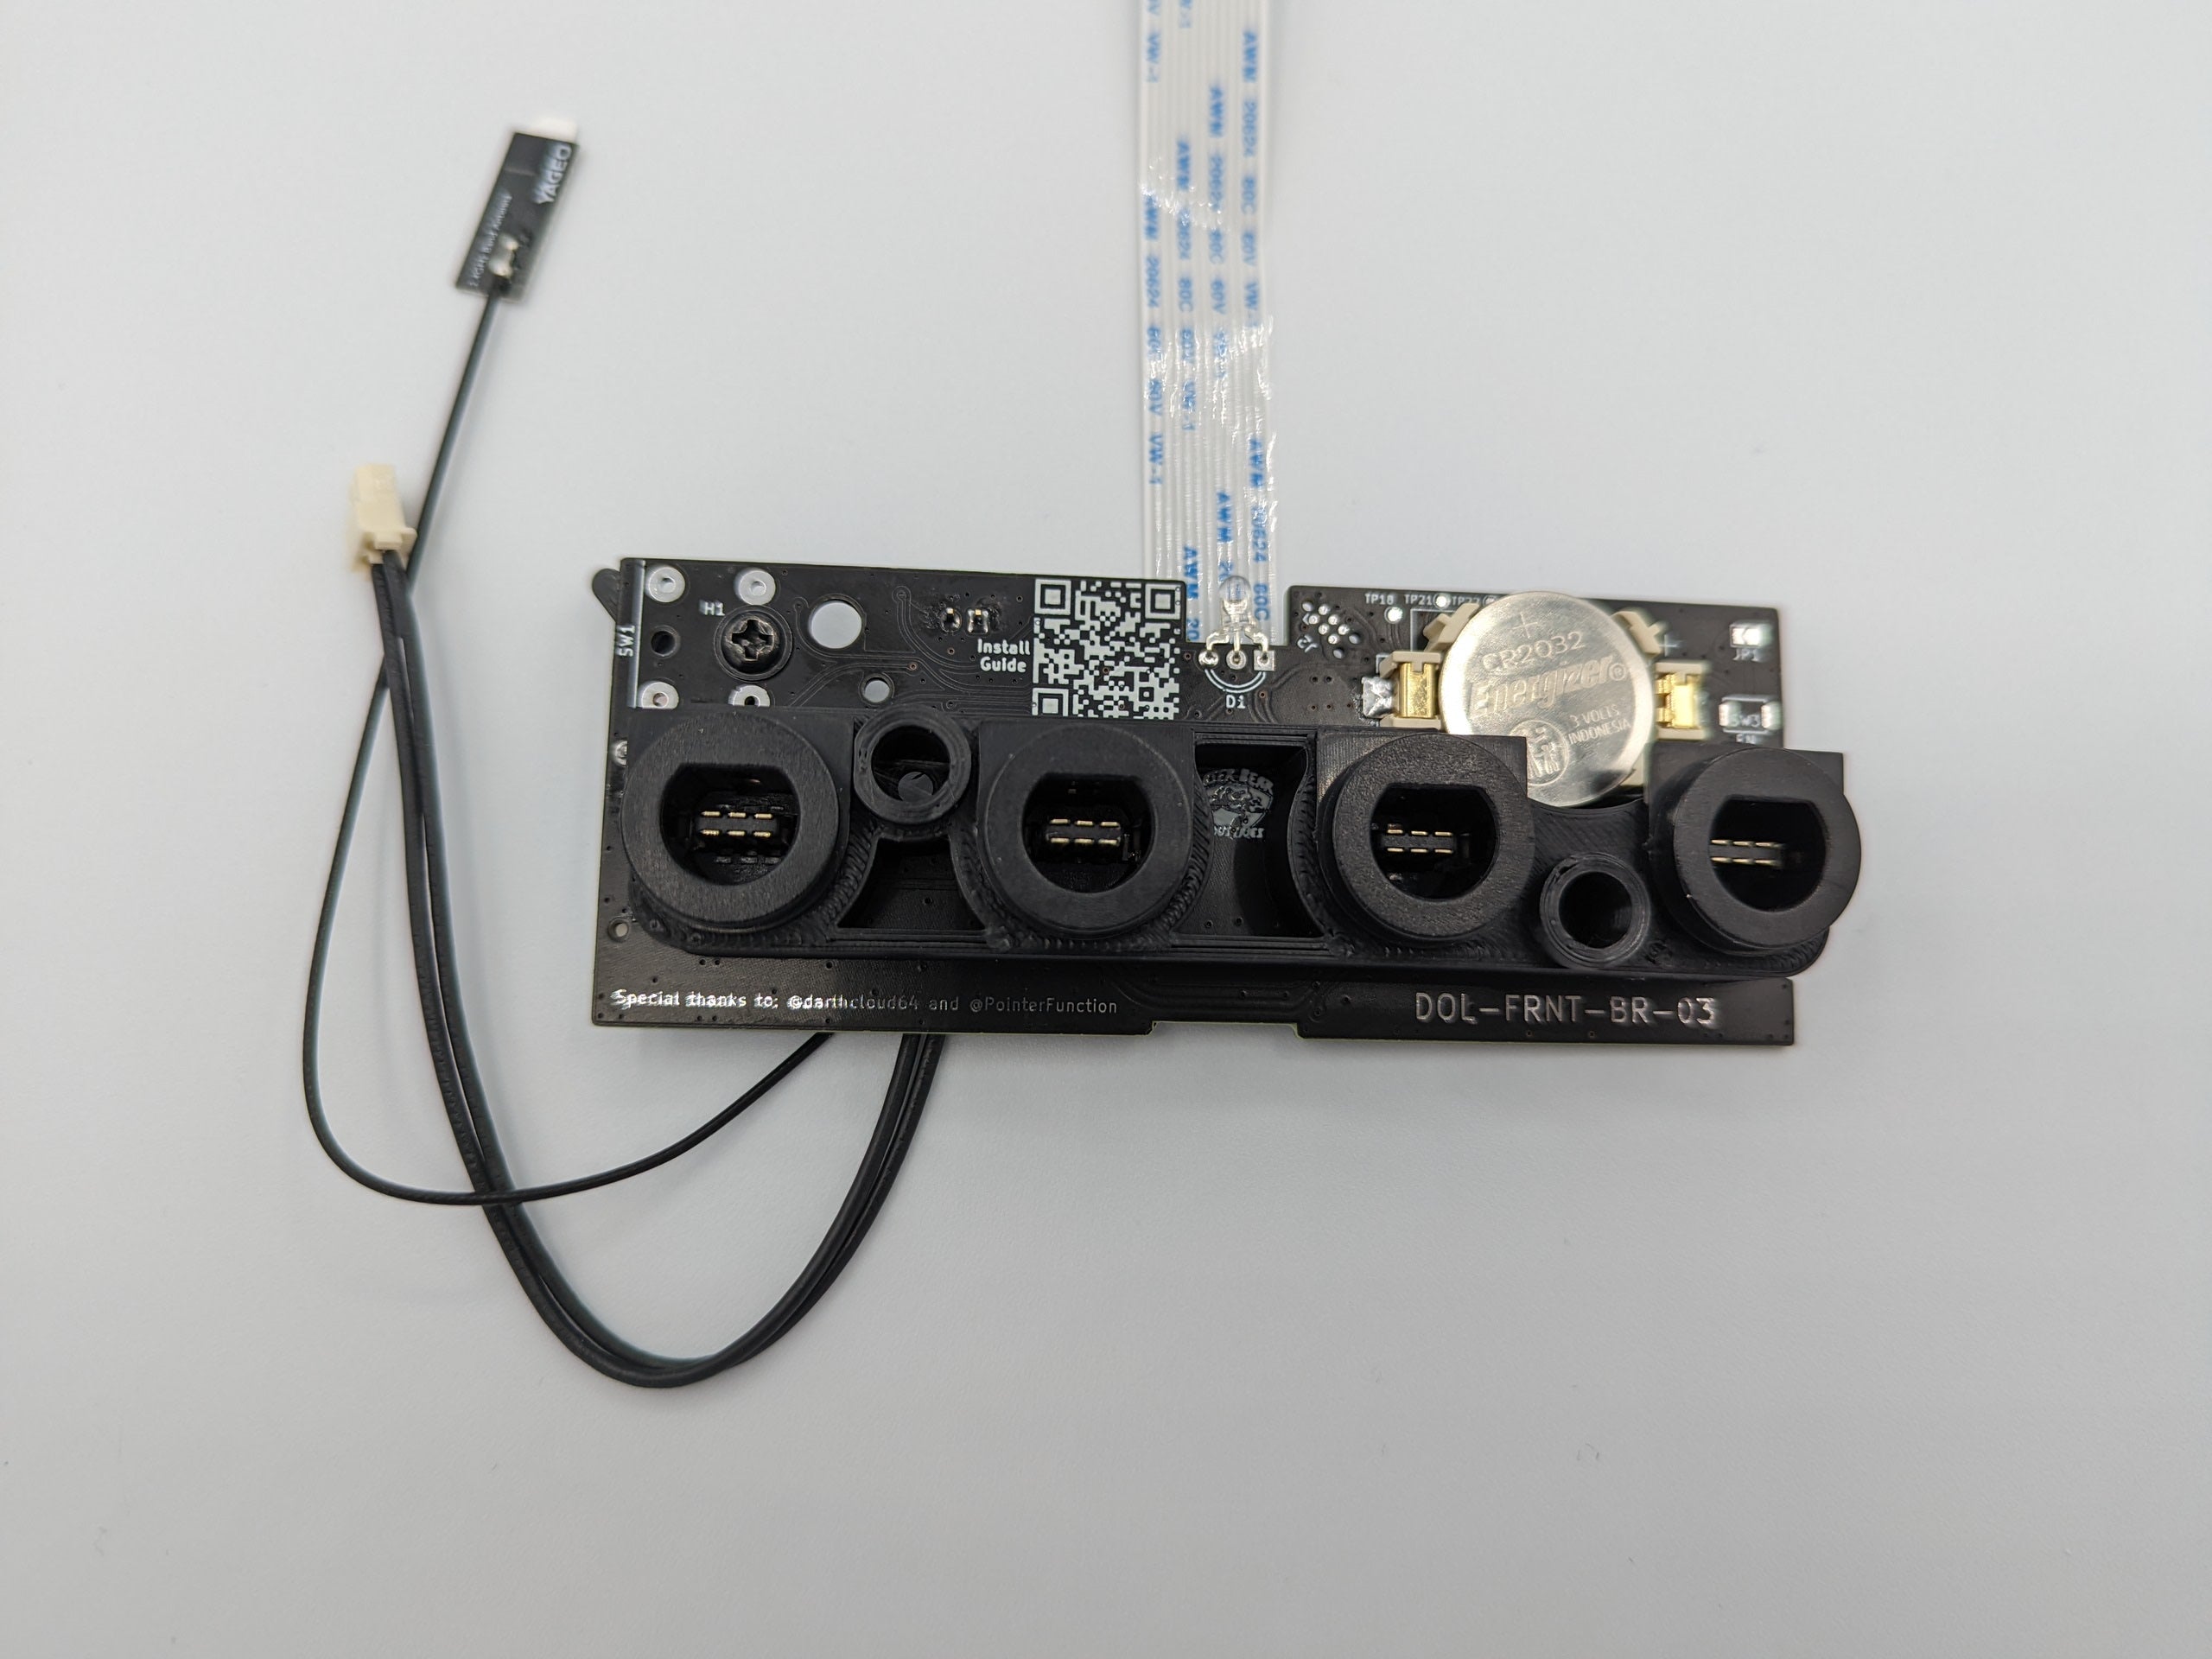
This guide will walk you through the process of installing the New GameCube front board with embedded BlueRetro Bluetooth receiver.
Full video guide can be found here: https://youtu.be/Eei9UhATfdU
We also have this guide to better show the wiring https://youtu.be/lAUkWpU9gKE
The first step is to remove the 4 bottom screws. These are a special type of screw that requires a Gamebit screwdriver in the 4.5mm size you can find them from many sources, but here is one on Amazon for convenience

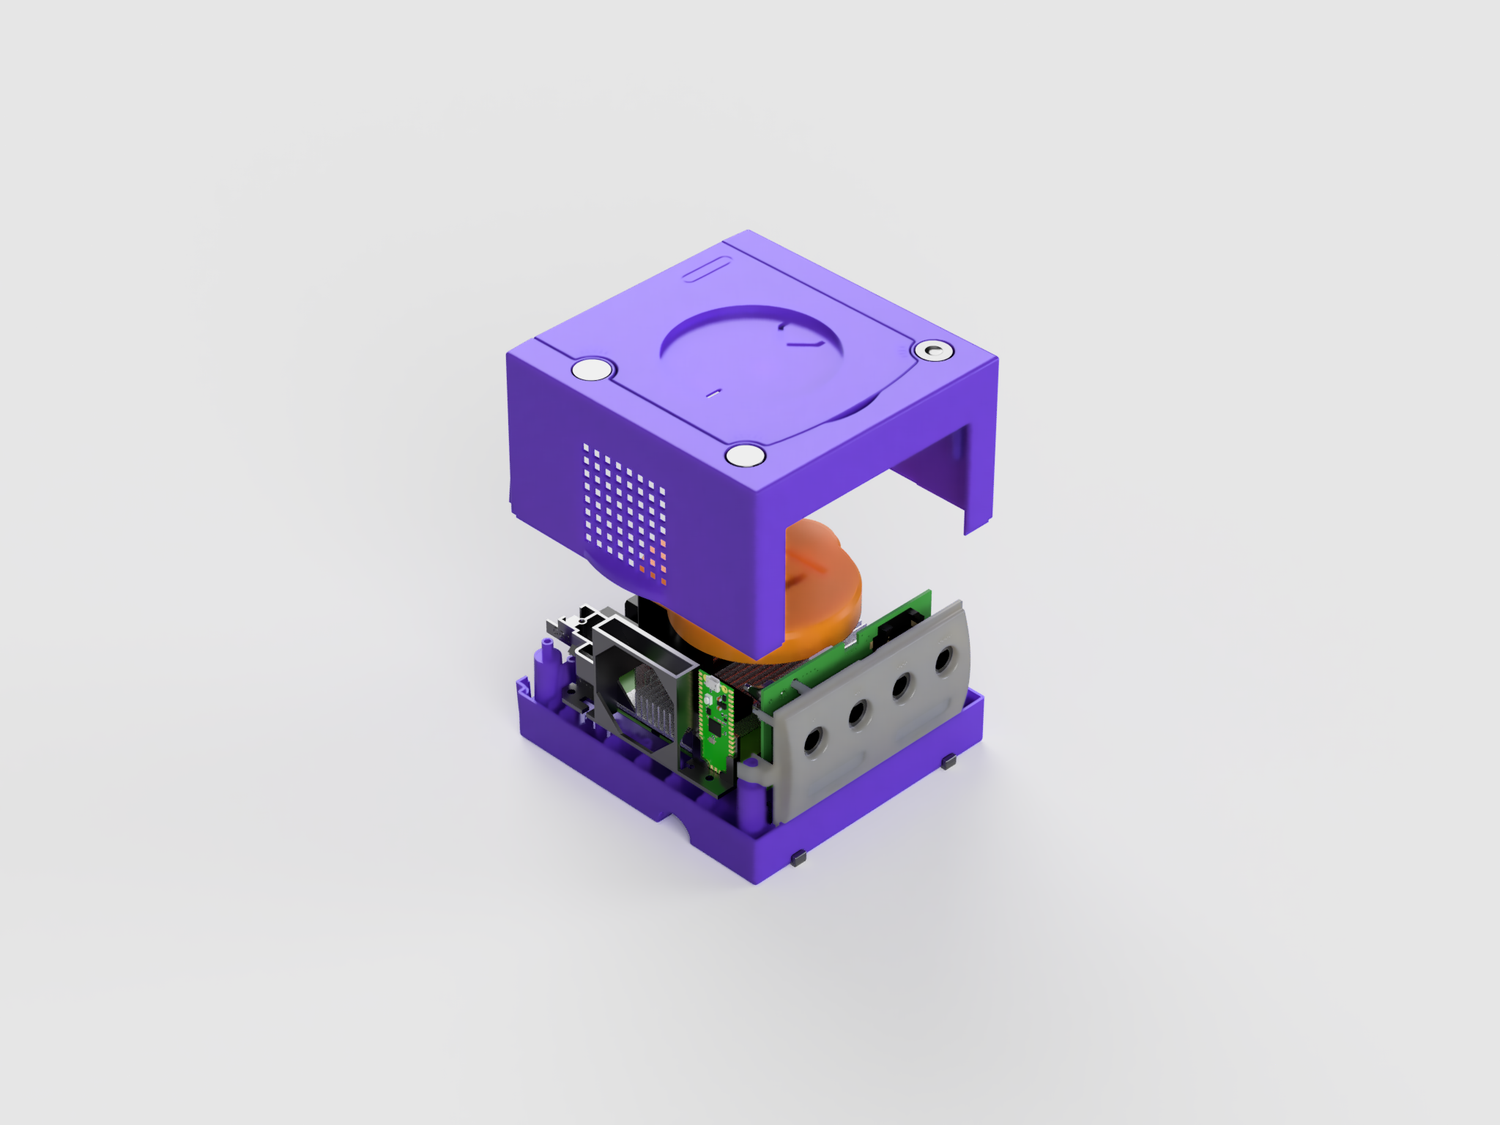
Once the screws are removed pull the top shell off the console

(note this shows components that may not be installed in your unit.)

Now remove the front board and plate. This is done by gently tilting the front board forward. the clips on the sides may need to be slightly pulled apart to get it to release. Once the front section is loose you will need to pull the FFC cable (white flat cable that is attached to the front board.

The next step is to remove the two screws from the front board. (Pictured is the new board but the process is the same) Once removed pull the old front PCB off the front plastic.

The next step does not need to be done on the V3 release, the antenna is embedded on the board.
The next step is to install the antenna onto the front plastic. The antenna just needs to be able to reach the antenna socket on the new board. I recommend that it should go above the center two ports, but can realistically go anywhere above the memory card openings.

Next install the new front board onto the front panel. Then connect the antenna:


Just make sure the antenna is pressed down firmly, it will take a bit of force to connect.
Now reinstall the retention screws, and your new front board should look like this:

Plug the flat flex cable (FFC) into the connector on the GameCube main board. (it may need some force to press in. Seat it as far as you are able, the blue should be facing towards the front of the console.

Reattach the front back into the console. The bottom edge gets set in first, and it tilts up to snap into place.
Now unplug the GameCube power lead from the power switch board. It has the thicker wires on it. You may also unplug the fan wire from its header.


Plug in the included wire harness into the now open power port

Plug the GameCube Wire into the larger open header on the new front board, and the fan into the smaller header.


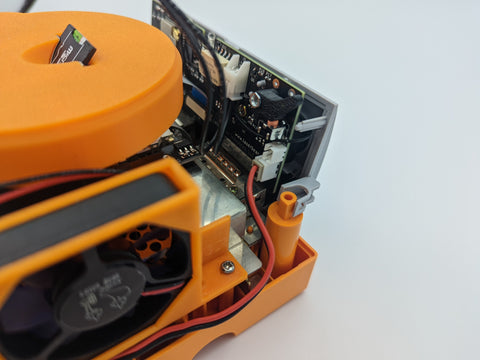
Carefully place the top shell back onto the system, watch for the wires as you close it up, they sometime pop out, use a small flat object to keep them out of the way if needed. In the photo you can see there are two plastic parts that stick out, make sure the wire sits comfortably above these and as far back as possible otherwise the lip on the top shell will catch on the wire.

Reinstall the bottom screws.
Power on your system, if it does not power on hit the reset button, sometimes the relay on board will get flipped in shipping causing it to be in the open state.
Once powered up the main LED should be purple indicating that you can pair a Bluetooth controller.


Leave a comment
This site is protected by hCaptcha and the hCaptcha Privacy Policy and Terms of Service apply.